How to make a desert rock miniature base
It’s easy. With a few materials and some paint, you can make this base.
I recently acquired some new miniatures for Infinity. While I do have some gorgeous bases from Antenocitis Workshop, they’re too futuristic for the faction I’m painting.
I’d rather have some rocks or desert (or both) for my Van Zant model, so I decided to make my own. Follow along!
(You can do this kind of base with any kind of mini, especially fantasy minis for D&D or Pathfinder.)
Materials
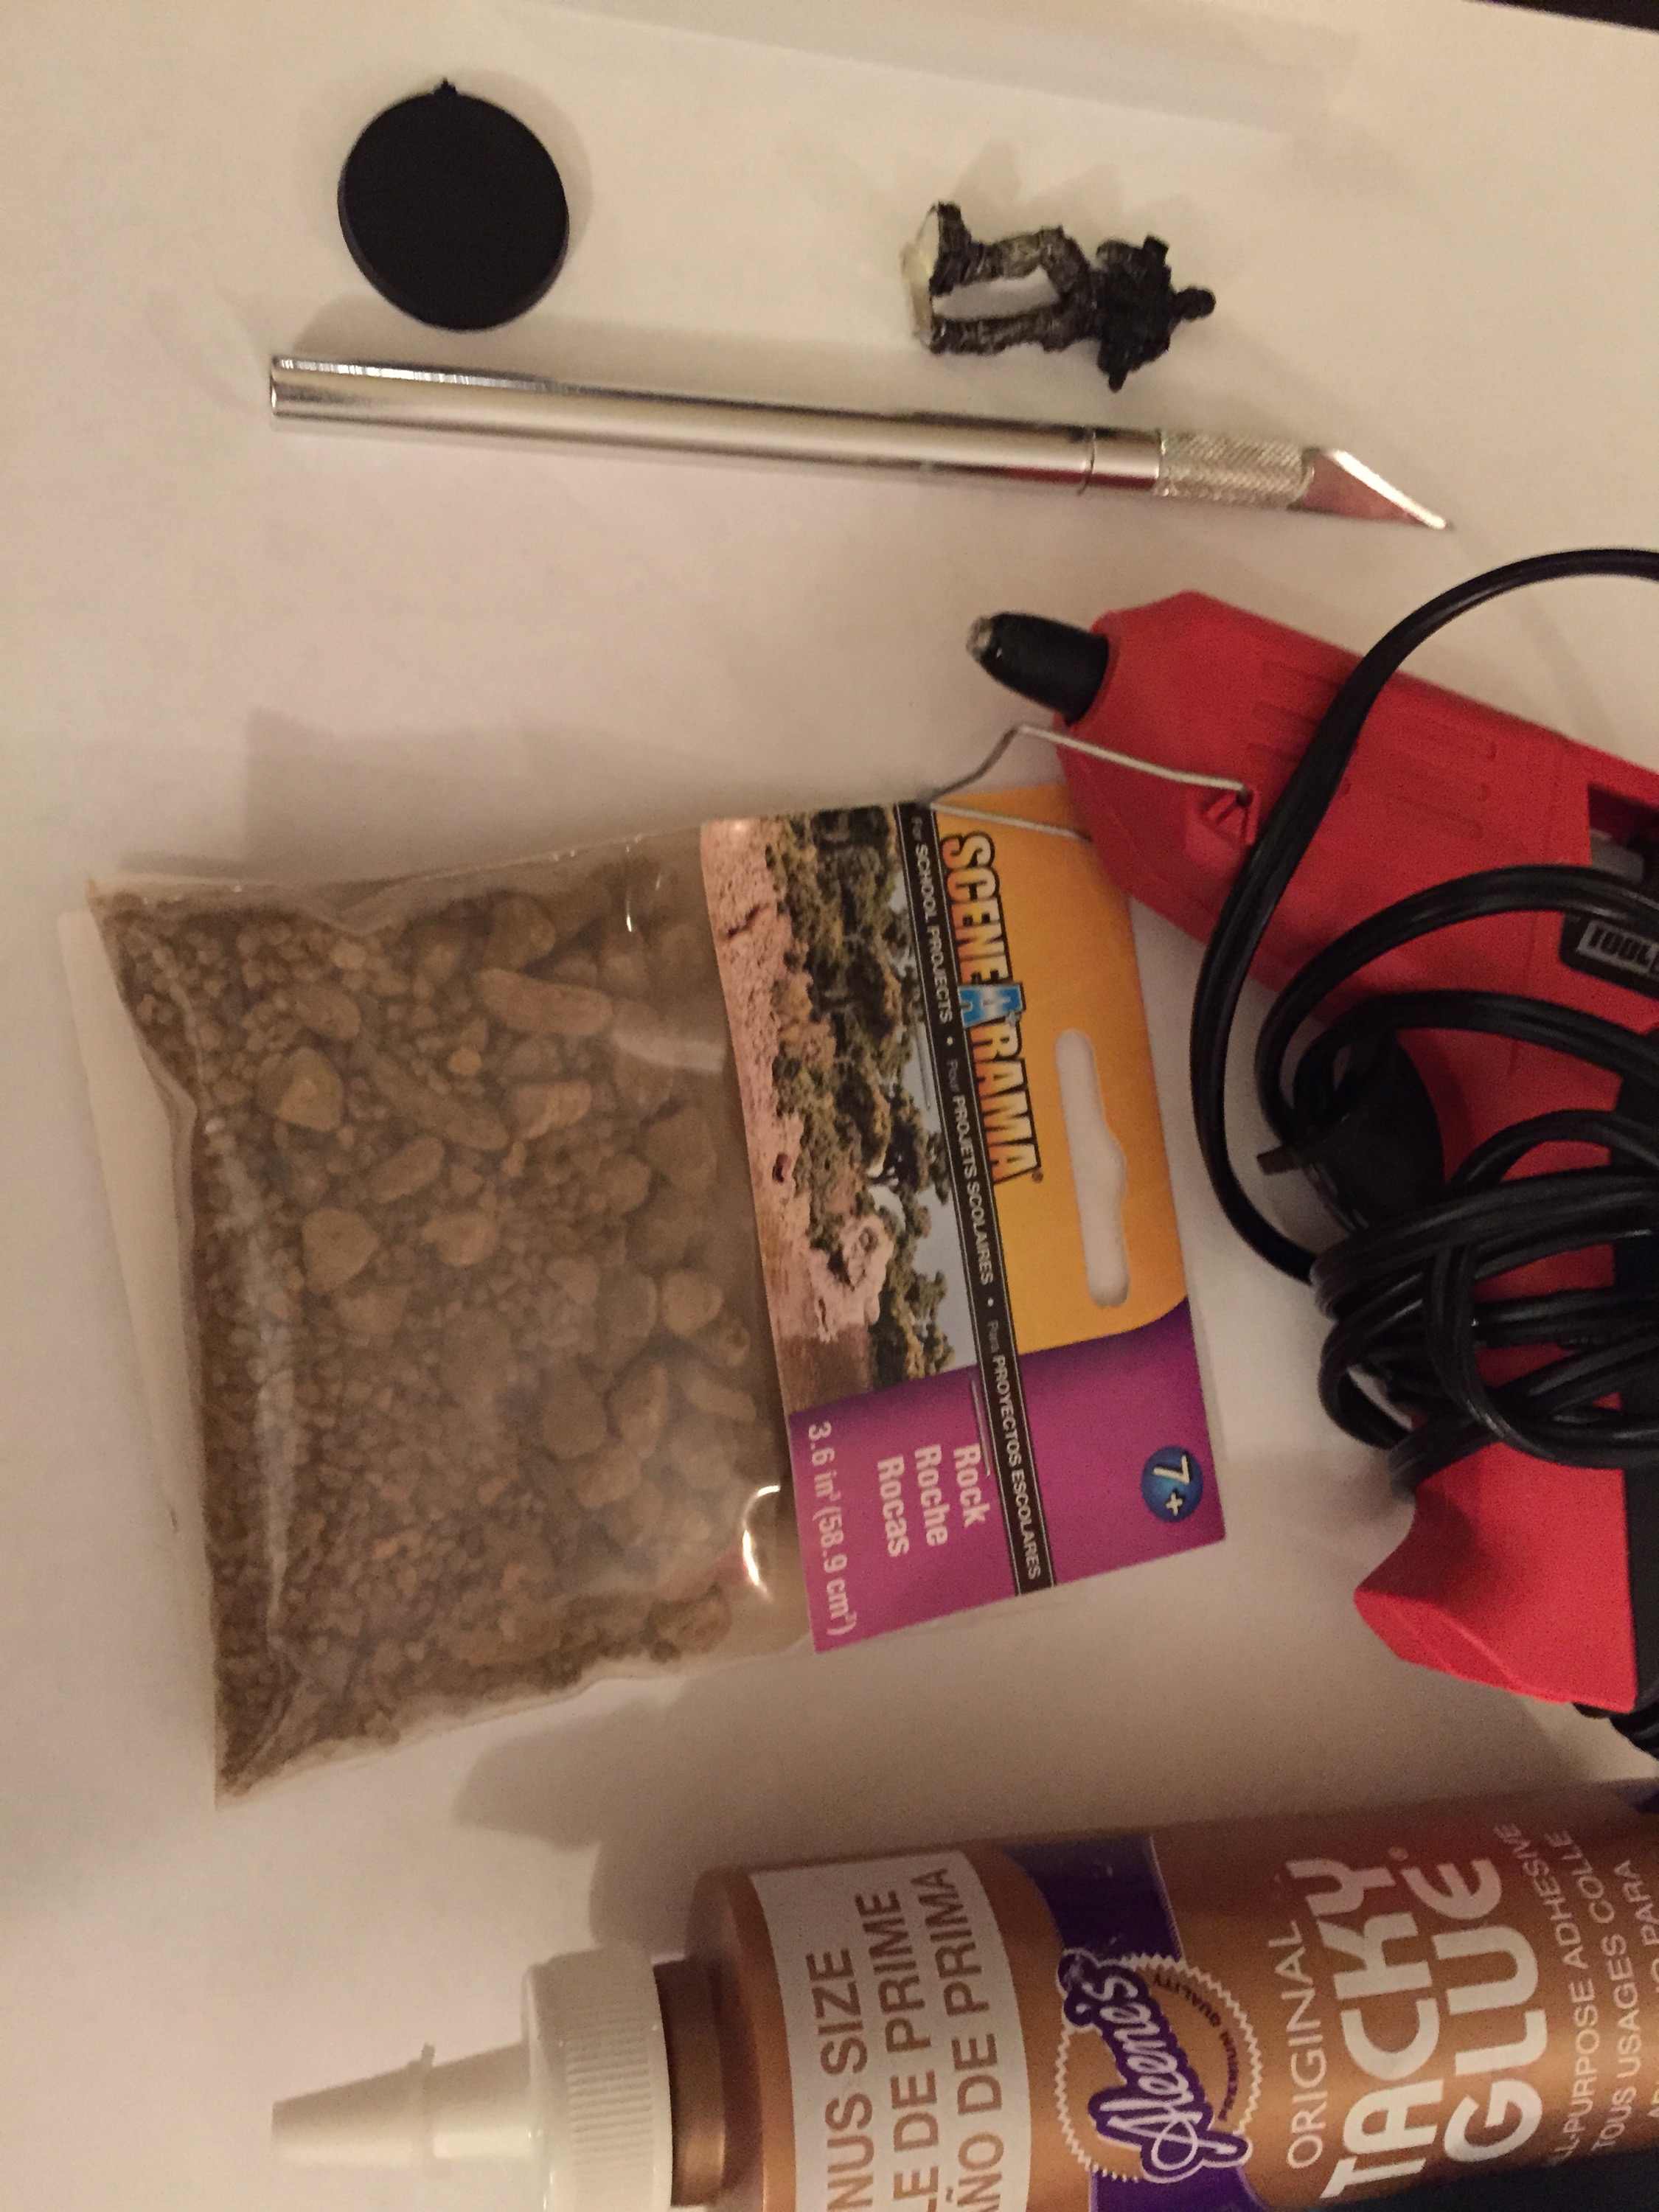
- Black plastic base
- Rock/sand
- Grass flock
- Hot glue
- Tacky glue
- X-acto knife
- Paint
Instructions
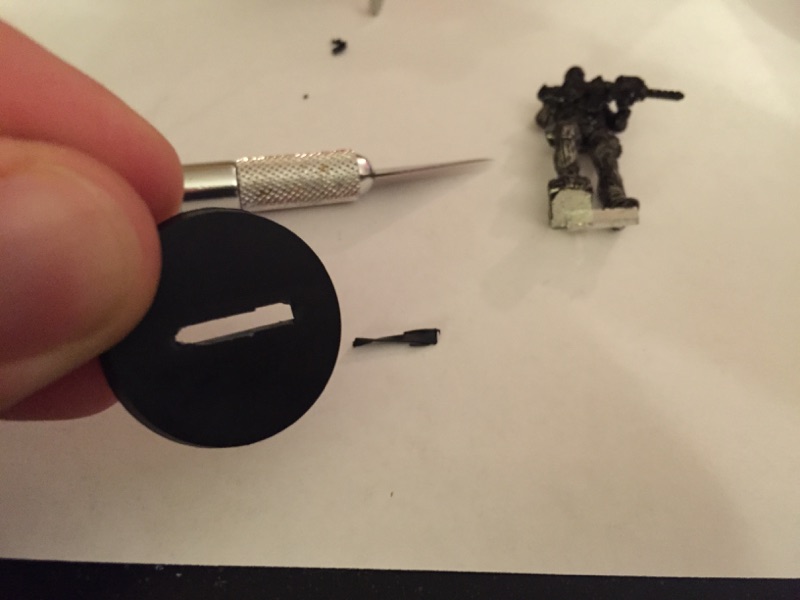
1. Cut a slot in that base.
The bases that come with Infinity miniatures are molded to allow a slot to be easily cut into the base. But this miniature has a very short slot and I wanted the scenic elements of the base to be on as much of it as possible. So I only cut out as much as I needed.
(If you’re working with a mini, say from Reaper’s Bones line, that doesn’t have a slot, you can skip this step.)
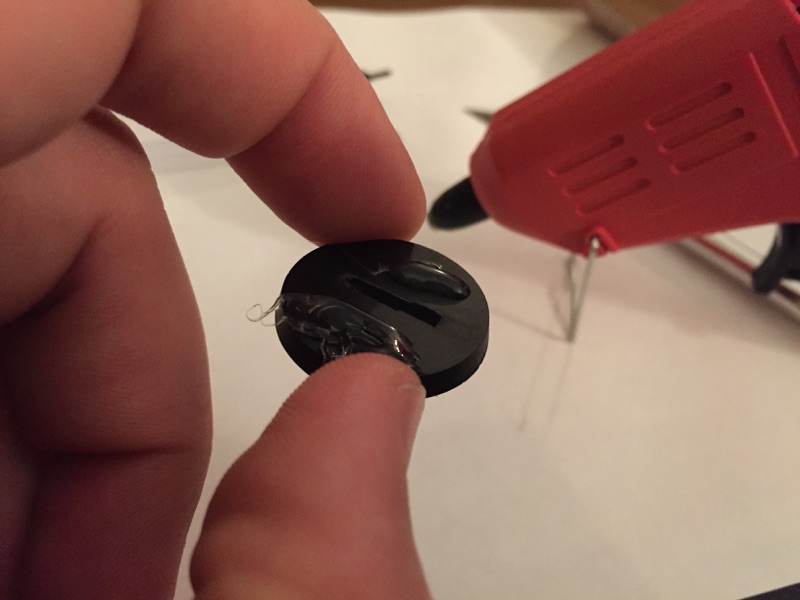
2. Put some hot glue on that base.
To keep the rocks we’ll add later from sitting completely flat, I put a tiny bit of hot glue on each side.
Let it dry. Watch your fingers.
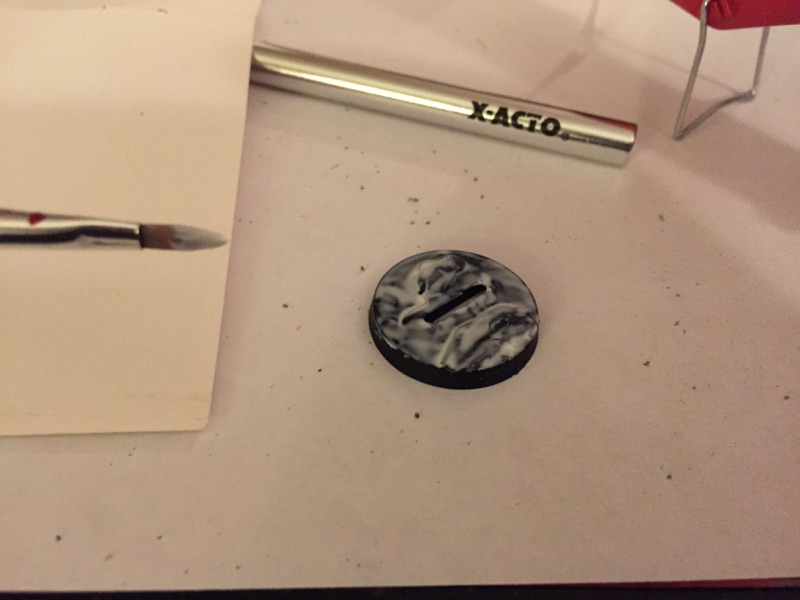
3. Put some tacky glue on that base.
I like Aleene’s Tacky Glue since its water soluble and cleans up easily.
Take a paint brush and brush it on the whole base. This will hold down the rocks and flocking and you’ll want it everywhere.
4. Put rocks on that base.
This is easy. Take a pinch of some medium sized rocks and drop them on the base. Then some smaller rocks after that.
I got my tiny bag of rocks from Michael’s for a couple bucks. Game stores and craft stores sell them as well.
Dump off the excess.
Two tips: 1) Place rocks of a variety of sizes. I picked one large rock and placed it off to the side on mine. 2) Make sure there aren’t any rocks in the slot or where your mini’s feet will go later. Once the glue dries, it will be harder to get those to move.
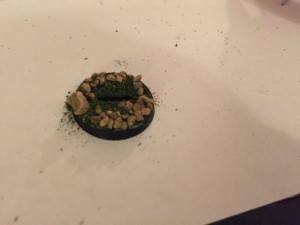
5. Flock that base.
Remember what you did with the rocks? Do the same with the grass flocking. Punch some. Drop it on the base.
Then carefully pick it up by the edge and tap the base to let the excess fall off.
Another tip: I recommend doing the rocks and flocking in a container or on a paper plate. After each step you can save the excess material.
This is also a good time to take a break. You want the glue to dry or else the following steps will be difficult to do without knocking the rocks off.
6. Prime that base.
I used some grey Krylon primer.
As always, make sure you do this in a well ventilated area.
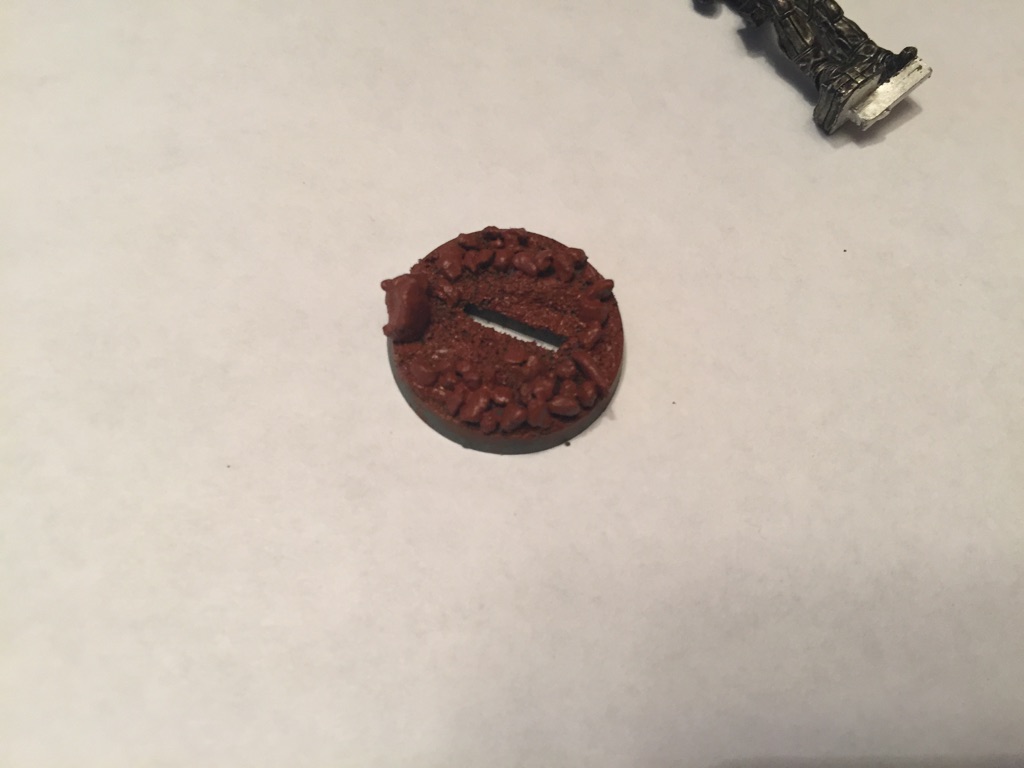
7. Give that base a nice coat of paint.
I primarily use P3 paints from Privateer Press. You can use whatever.
I started with Bloodstone Brown, a nice deep, reddish brown. Whatever you use, you’ll want to start with something dark.
Starting with the next step, you’ll work your way from that dark base coat up to lighter colors.
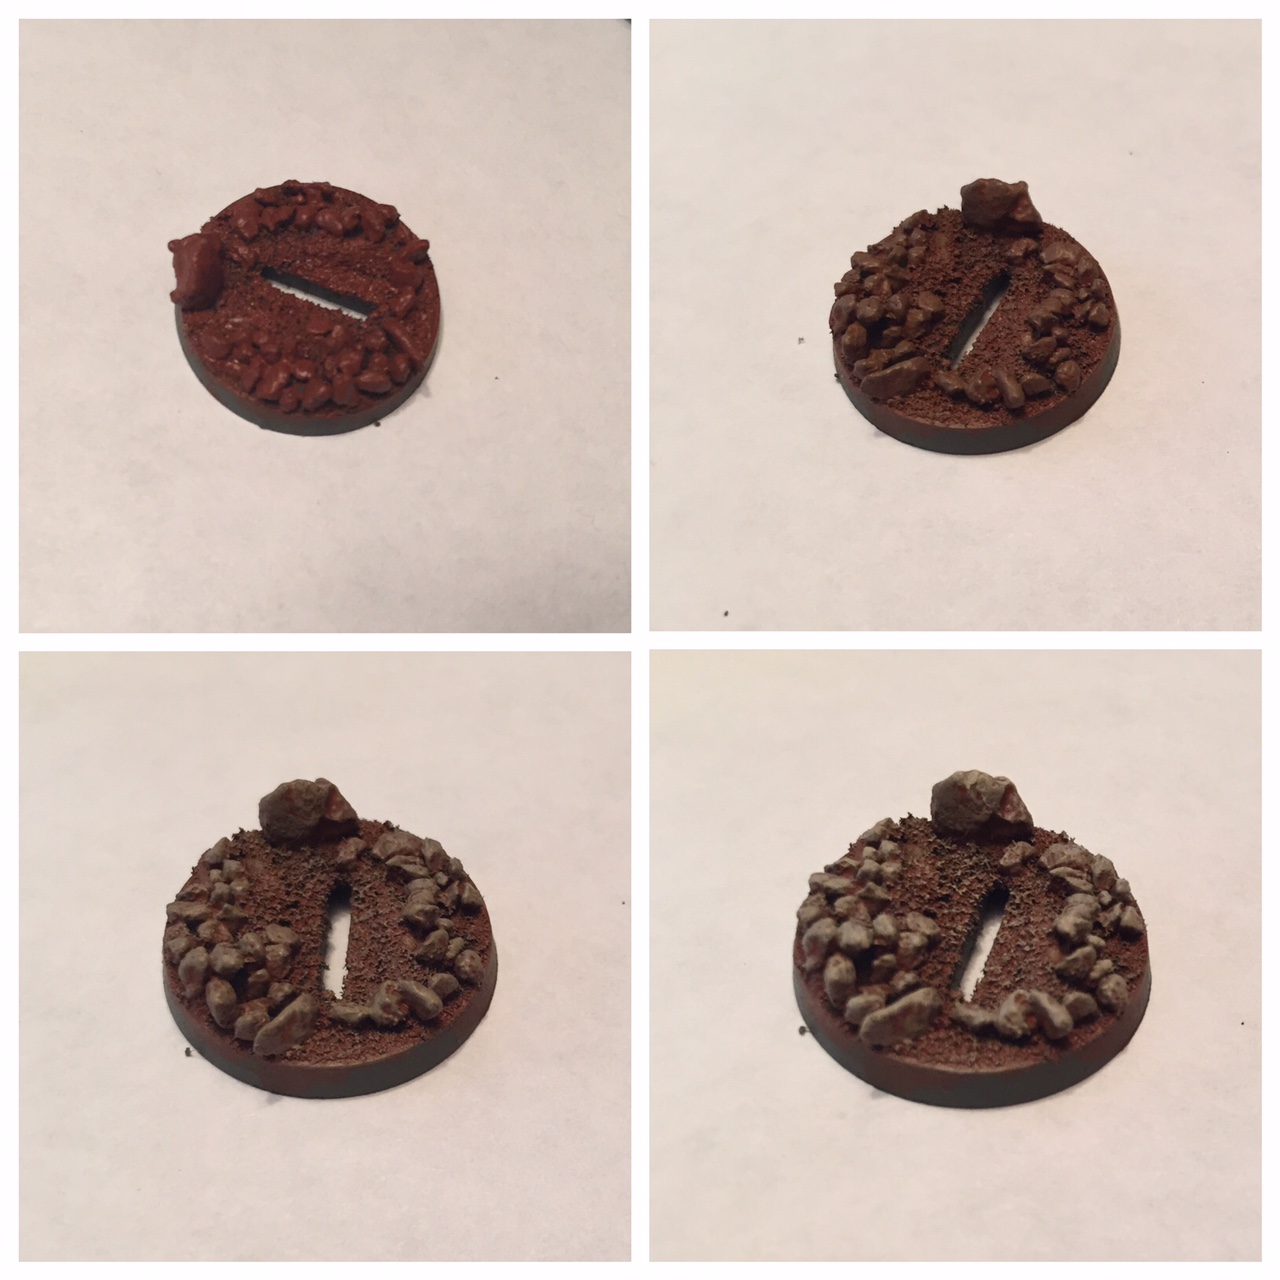 8. Dry brush that base.
This will be done in steps with several colors.
Never dry brushed? It’s easy. Wet your brush with your color (for the first dry brush step, use a brown lighter than your base coat) and then paint some strokes on a piece of paper until it looks like most of the paint is gone. Your brush will actually still have a tiny bit of paint in it.
Now lightly brush it over the base.
See how the edges of the rocks pick up the little bit of paint left in your brush. They’ll look lighter but the cracks and crevices of the base are still dark. That’s why dry brushing is awesome.
Ok, now pick a lighter color and do that over again. And repeat. Each time, use a lighter and lighter color.
Here’s what colors I used:
- P3 Bloodstone Brown (base coat)
- P3’s Gun Corps Brown (dry brush)
- P3’s Hammerfall Khaki (dry brush)
- Vallejo’s Bone White (dry brush)
You can do this with as many colors as you want. Once you’re satisfied, let it dry.
9. Clear coat that base.
To make sure your hard work doesn’t flake or chip, you’ll need to spray the base with some clear coating.
I use Testors Dull Cote (it says “spray lacquer” in big print in the bottle).
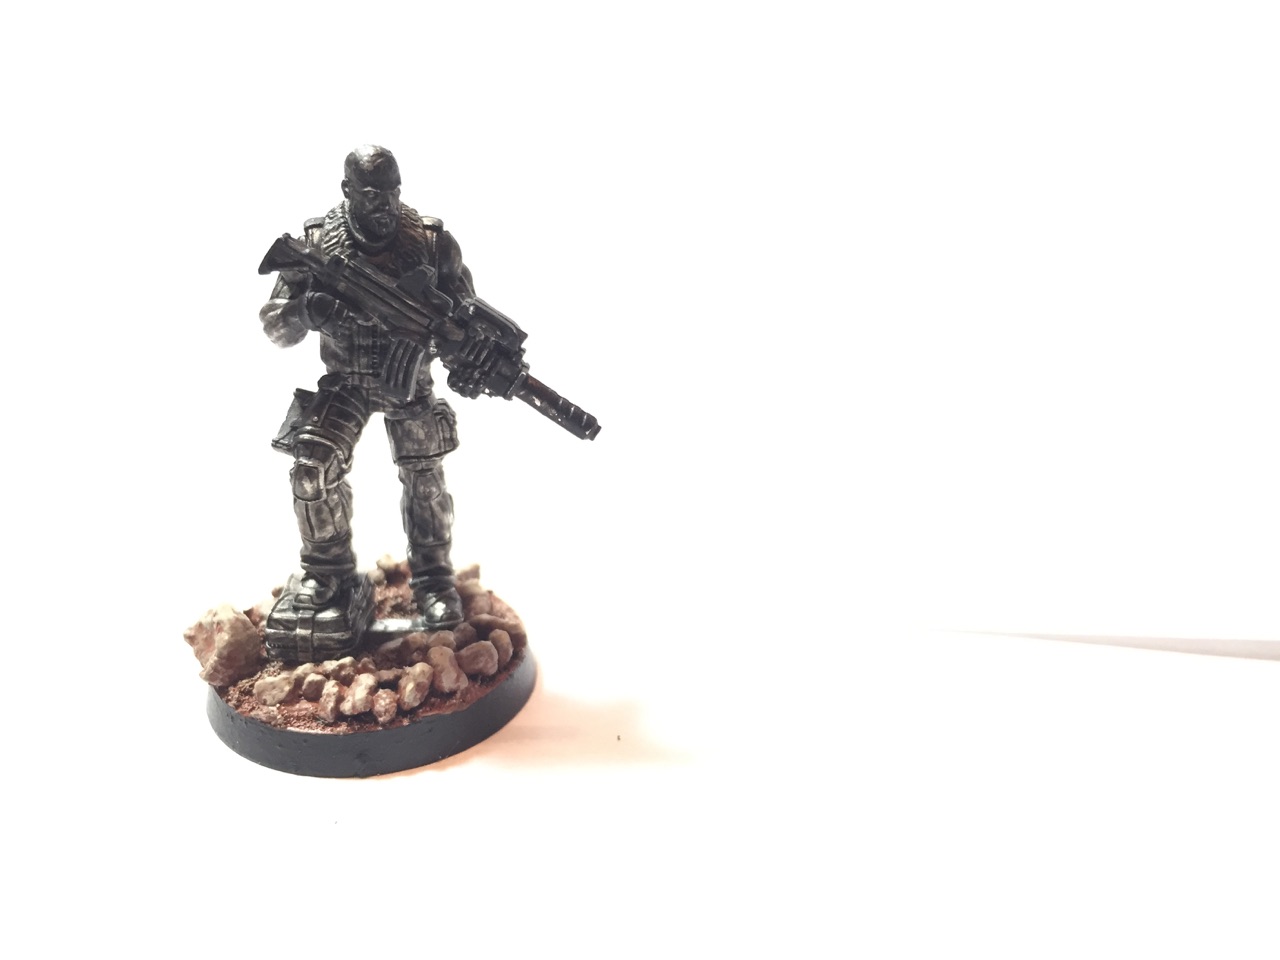
10. Put your mini in your new, awesome base.
11. Enjoy!

Related Posts


About The Author
Kevin Coffey
Kevin is the editor-in-chief of Crit For Brains. He's also a husband and dad, full-time reporter and part-time Dungeon Master.