Miniature Madness: Painting a Burrowing Horror step-by-step
Welcome to Miniature Madness, a feature where we paint a miniature and show you how we did it step-by-step.
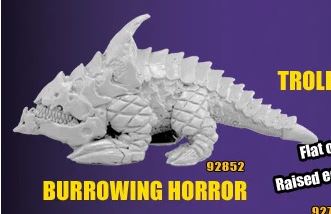
This time, we gave a new paint job to a Burrowing Horror miniature from Reaper Miniatures.
___________________
When we backed the Kickstarter for Reaper’s Bones II line, we knew we’d get a lot of miniatures. We didn’t realize exactly how many until we opened up the box and all that white plastic spilled out.
Anyway, we’ve slowly but surely began to paint.
One of my favorite minis is the Burrowing Horror. It’s a lot like D&D’s bulette (a sort of armored landshark thing) but with crazier scales and these wild, bared teeth. It’s not on Reaper’s website yet, but I imagine it will be soon.
So how did I paint it? Let’s get into it…
___________________
1. Bones minis are plastic and pretty much ready to paint, so they don’t need primer. But I find they need a tiny bit of prep. It appears they use some kind of mold release on the Bones minis that causes paint to bead up on the plastic, but you can get rid of that pretty easily.
I take an old toothbrush, put a dab of liquid dish soap on it and scrub each new Bones mini. After you give it a once-over with the brush, run it under cold water until all the soap is washed away. Then you can either give it a good dry with a paper towel, set it out for a few hours to air dry or (if you’re really in a hurry) take a blow dryer to it.
___________________
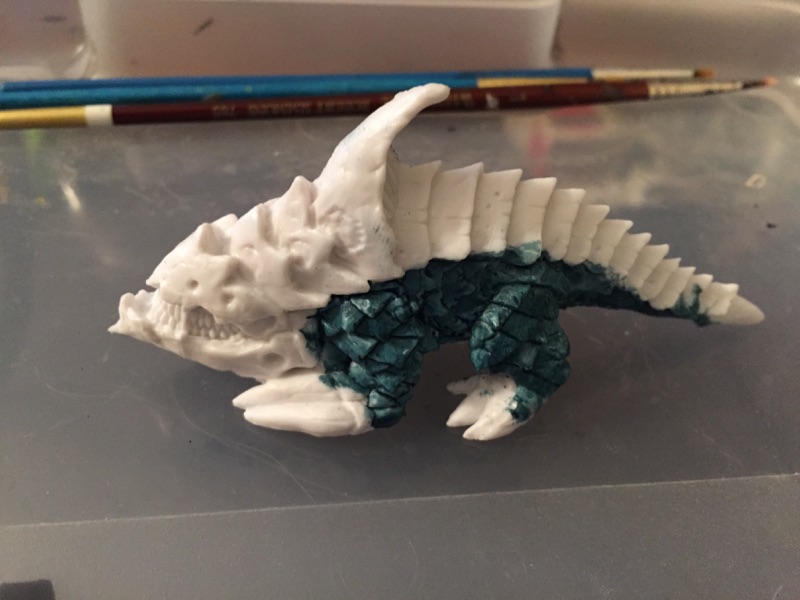
2. Next, I took a pot of coal black and thinned it out with some flow improver. (You can also use some water.) Coal black is less black and more of a really, really dark green/blue. I gave the lower scales a good wash with that.
___________________
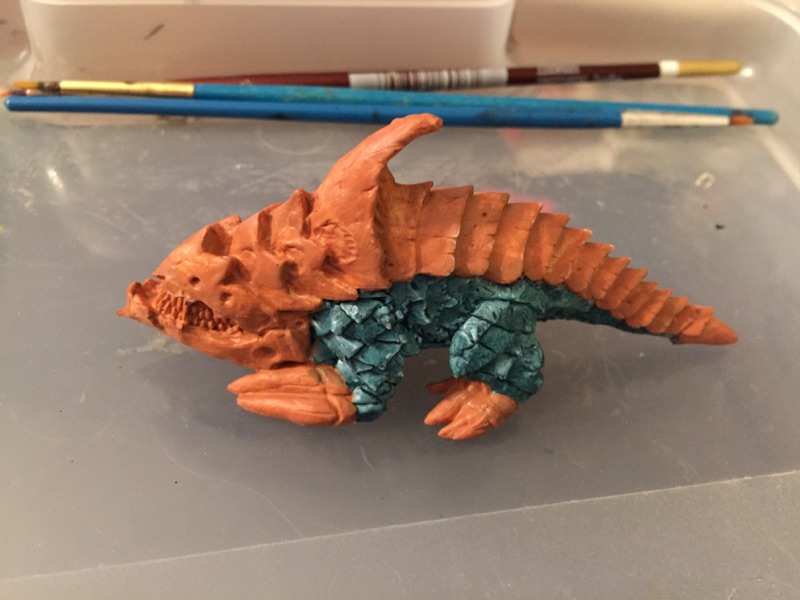
3. Next, I took a somewhat light brown, thinned it with some flow improver and gave a wash to the rest of the mini.
___________________
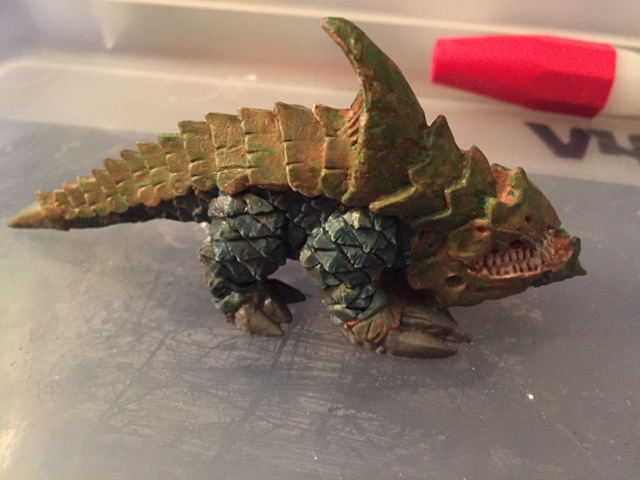
4. OK, now for some crazy stuff. I wanted it to have an earthy kinda look, so I went over the brown scales up top with a kind of pukey green. For this effect (which doesn’t look great now, but it turns out fine), I did a combination of a wash and a dry brush.
First, I thinned out the green quite a bit. Second, I dabbed my brush in it. Third, I brushed away most of the excess onto a paper towel. Fourth, I painted along the scales from the front of the Burrowing Horror to the back. It gave a dry brush effect and the thinness of the paint still let the brown show through.
On this step, I also dry brushed the teeth with a bone white. I also painted the claws gray. (I didn’t like the gray, and I fixed it later.)
___________________
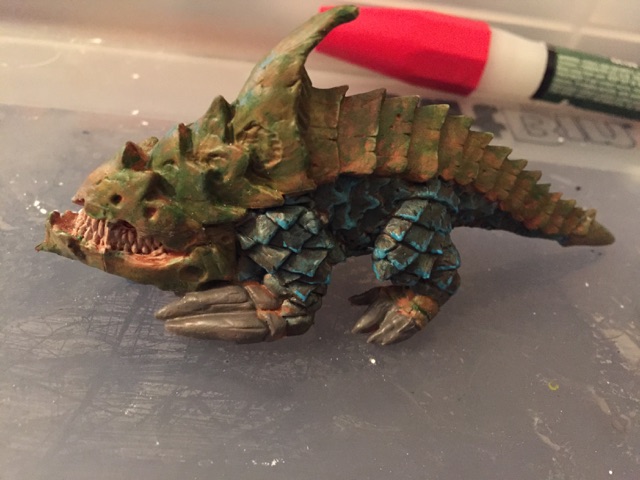
5. To make the lower scales pop a little bit, I painted a thin line of bright blue along the edge of each scale. It took awhile, but it gave the scales some definition.
___________________

6. For this step, I took a lighter green (compared to the wash I used before) and painted the edge of each upper scale. You may not be able to see it well in this shot, but I tried to blend it as best as I could so it wasn’t just brown/green and then green.
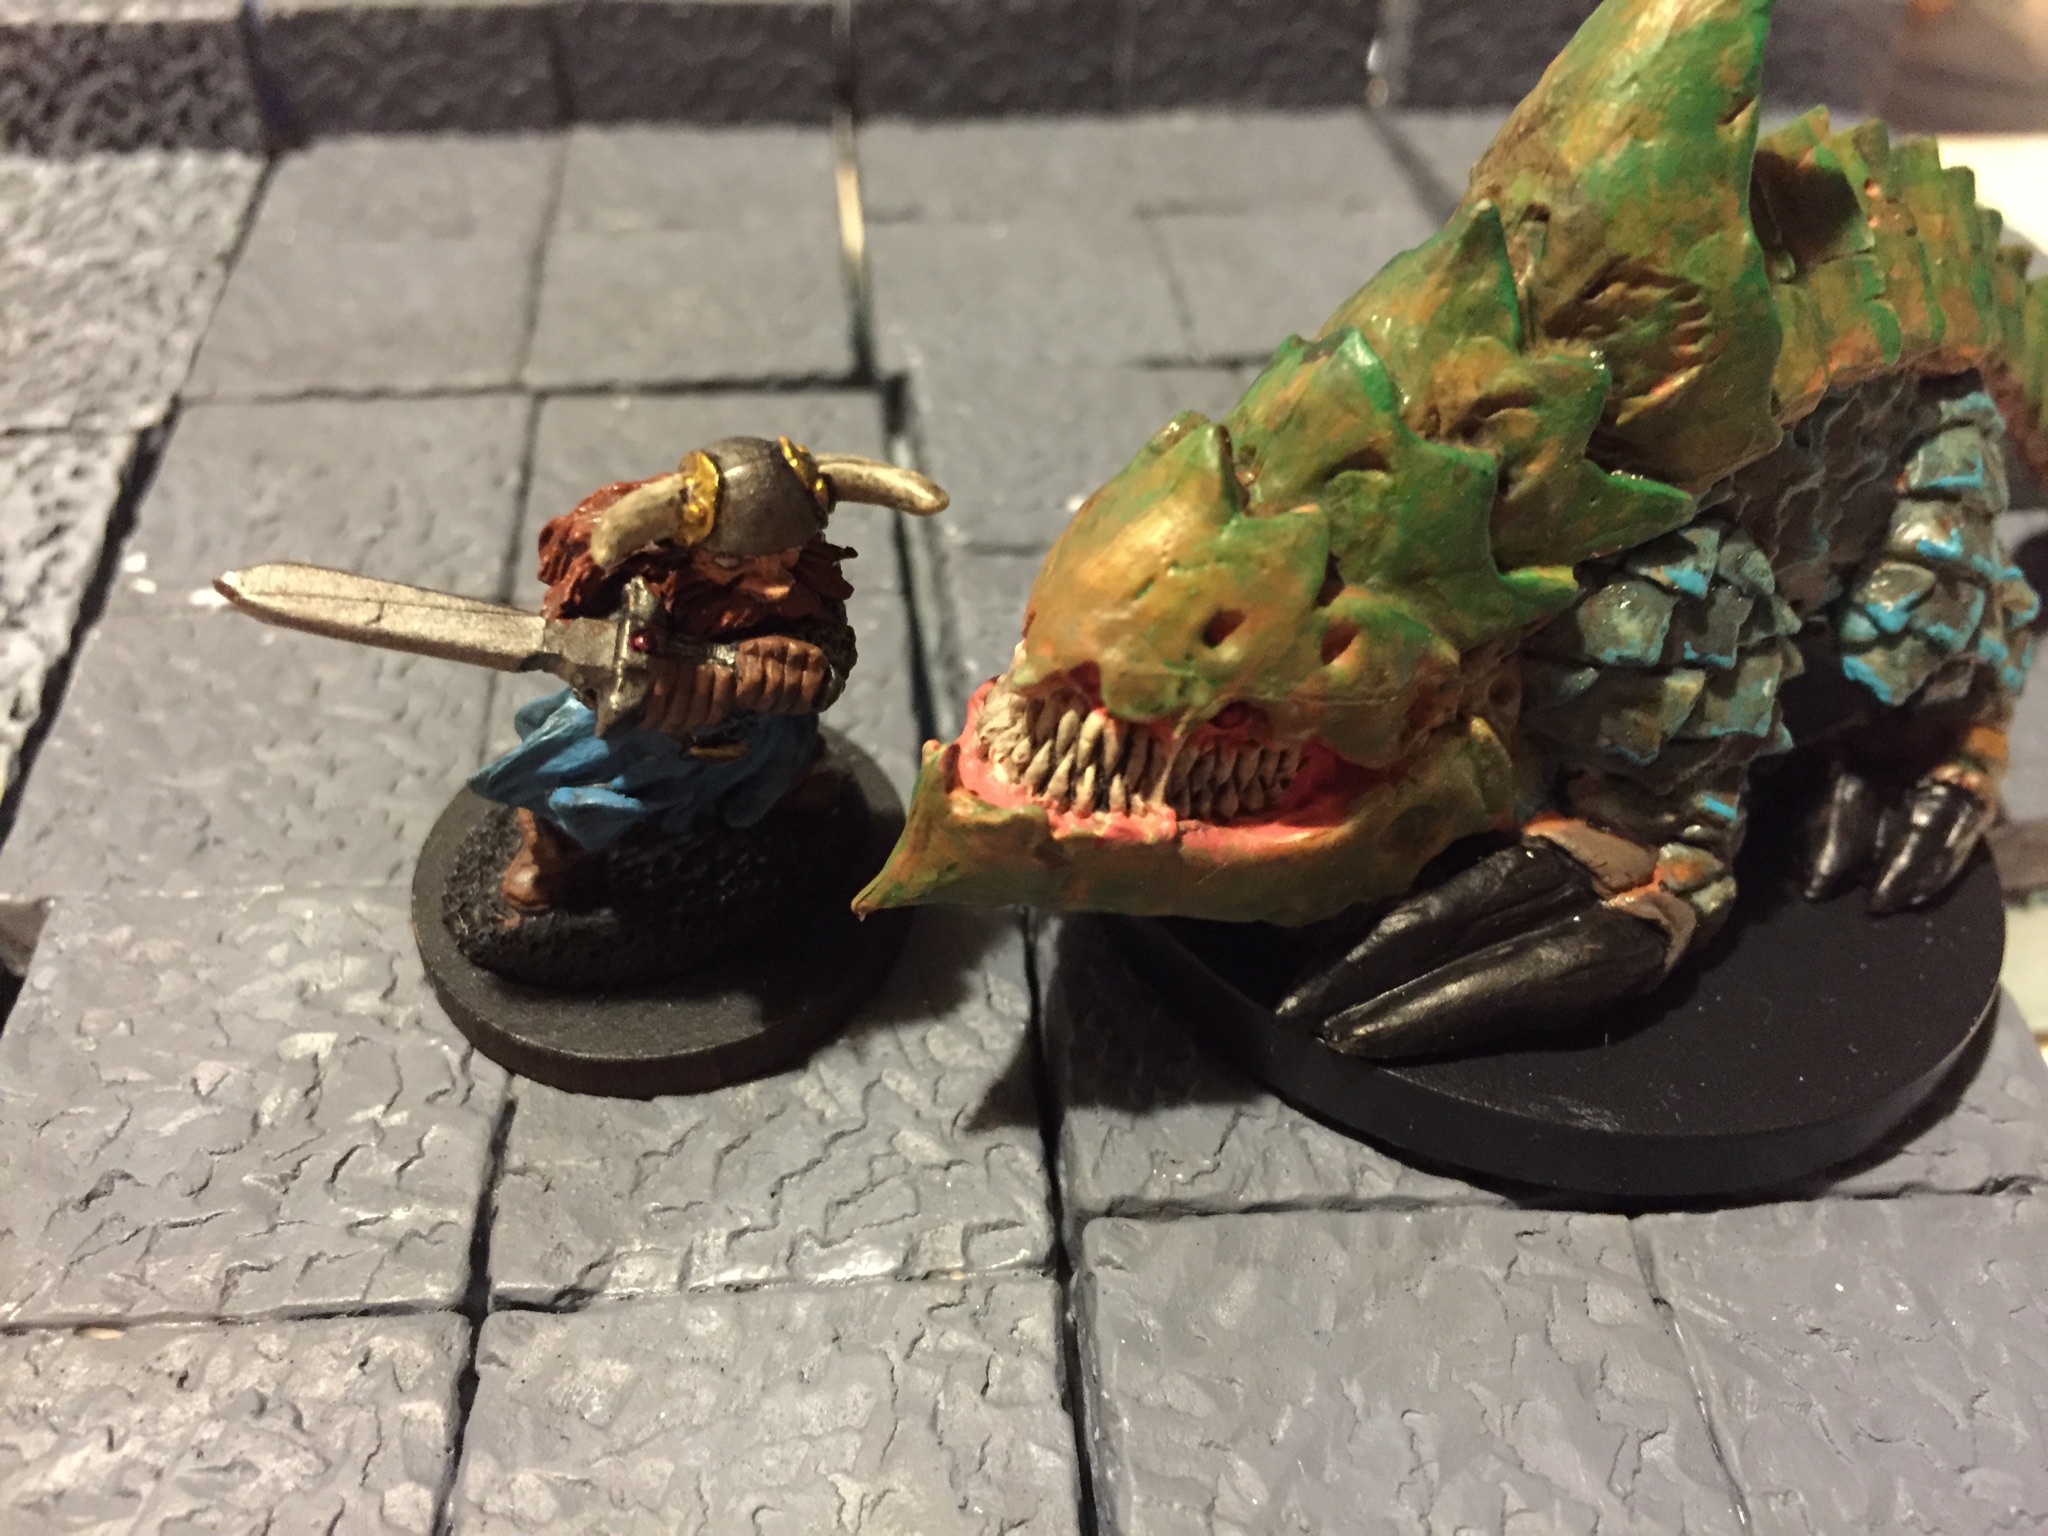
I also went in and painted around the teeth with a bright pink. The mini’s mouth is kind of ill-defined, and this made those horrifying teeth pop quite a bit more.
___________________
7. I didn’t get a closeup for the next step, but I continued working on the mouth. I did another thin coat of bone white on the teeth and then went in with a black wash to make them a little more defined.
The Burrowing Horror’s eyes are set down low right by its teeth, so I painted them each a dark, blood red to really pop out. After the eyes dried, I put the tiniest dot of a brighter red in the center of each beady eye.
And finally, I went back in and painted the claws black. I left a little gray around the edges to look sort of like giant monster cuticles.
___________________
8. Done!
Kinda.
I was finished with the paint, but I mounted the Burrowing Horror on a 2-inch plastic base (quite a few came with the Bones Kickstarter, but you can buy them from Reaper) and then sprayed it with a couple coats of Testors Spray Lacquer Clear Coat (some people still call it “dull cote”) to make sure the paint won’t chip.
Then I posed him in a dungeon with the fearless dwarf Fllem Duggins (seen above) and snapped some shots.
___________________
What do you think of our paint job?
And have you painted the Burrowing Horrow? We’d love to see what you’ve done with it.

Related Posts


About The Author
Kevin Coffey
Kevin is the editor-in-chief of Crit For Brains. He's also a husband and dad, full-time reporter and part-time Dungeon Master.